Pages

Showing posts with label cards. Show all posts

Sunday, 10 November 2013

This Week I...

...mostly worked and mass-produced things for upcoming craft fairs, which doesn't make for very interesting photos.
I did however receive some interesting deliveries in the post which I'll share with you.
I'll start by saying that I wasn't sponsored or anything by the companies mentioned - I wish, right! - I'm just a regular customer.

The first thing was these new business cards I ordered from Vistaprint. I only have business cards with a photo of one of my miniatures on so I thought it was about time to get some with a painting on.
Since my Beach Feet painting was so popular at the recent exhibition it was in I chose that image for the cards.
Vistaprint had a great deal on where I got 250 business cards for something like £14, and free delivery.
They even threw in a free business card holder.
They do try to sell you more things at every stage of the checkout process which can get annoying, as do the many emails after purchase with more offers and things to buy, but it's worth it to get the great deal.

I also got some greeting cards printed with three of my paintings on. This one, this one and this one.
I looked around on a few different photo sites and found that Photobox had the best deal as they had a 3 for 3 offer on card packs. 
This meant I got 3 packs of 10 A6 size cards, for about £23, and that includes the delivery.
They also come with envelopes which is incredibly useful as I don't have to worry about finding envelopes to match the size of the cards. 
And the images came out really well on the glossy card.

So how was your week?
Anyone making their own merch?

Tuesday, 17 September 2013

Colour In Cards

For my friend Lizzi's birthday card this year (You know Lizzi. Helped me dye my hair? Yeah, her) I used the colour-in images I'd made previously. I stuck a box of crayons to the inside of the card with an additional orange crayon so she could colour in her hair.

When I told my sister about this, she wanted one too.
Her birthday is only a couple of weeks after Lizzi's so I got to work.
I used the same method as before - which you can read all about here - and used a photo taken off Facebook of my sister and her friends all costumed up.
The picture looked weirder with the faces drawn in, believe me.

And this is the finished card after it had been received and coloured in!

Monday, 4 April 2011

Mother's Day

Did all you Brits remember Mother's Day yesterday?
I did, here's the card I gave my Mum.


I drew out the word Mum on the inside and filled it in with pattern. Then I grabbed my craft knife and got to work cutting out all the shapes. I finished it off by sticking some coloured paper behind to make the word show up.

Wednesday, 20 October 2010

There's a hole in this card!

I recently found this photo of greetings cards where the image is made of holes. (I can't remember the source, if anyone knows, please let me know)
So I thought I'd give it a go. 

It's not the easiest thing to photograph but here is a celebratory balloon for my sister's birthday. I drew it out on the back first and then went to work equipped with a large needle and a thimble.

Different effects can be created depending on which side you make the holes through. Fancy.

Monday, 17 May 2010

What a hoot

My friend was raving about this card from M&S so I decided to make my own version for her birthday. Which is today; Happy Birthday Robyn!

Owls + buttons + googly eyes = Awesome

I've discovered that owls are very big at the moment (big as in popular, not giant owls- that would be weird)

Check out these owl cushions at RJB Stone

These cute owl pom poms are super simple to make. Find out how at maedchenmitherz

Owl cupcakes! Nom nom nom. From Catching Fireflies

And speaking of fireflies...


:)

Monday, 12 April 2010

Garden fence greeting card

This project came about when I wanted to find a use for the packets of little bits of wood that come with canvases. Does anyone know what they're actually for? I think it's got something to do with the corners. 

Since I don't use them for their intended purpose, whatever that may be, I've got a lot of these little packets lying around. Then one day I realised they looked like planks of wood on a fence, and thus; the garden fence greetings card. 

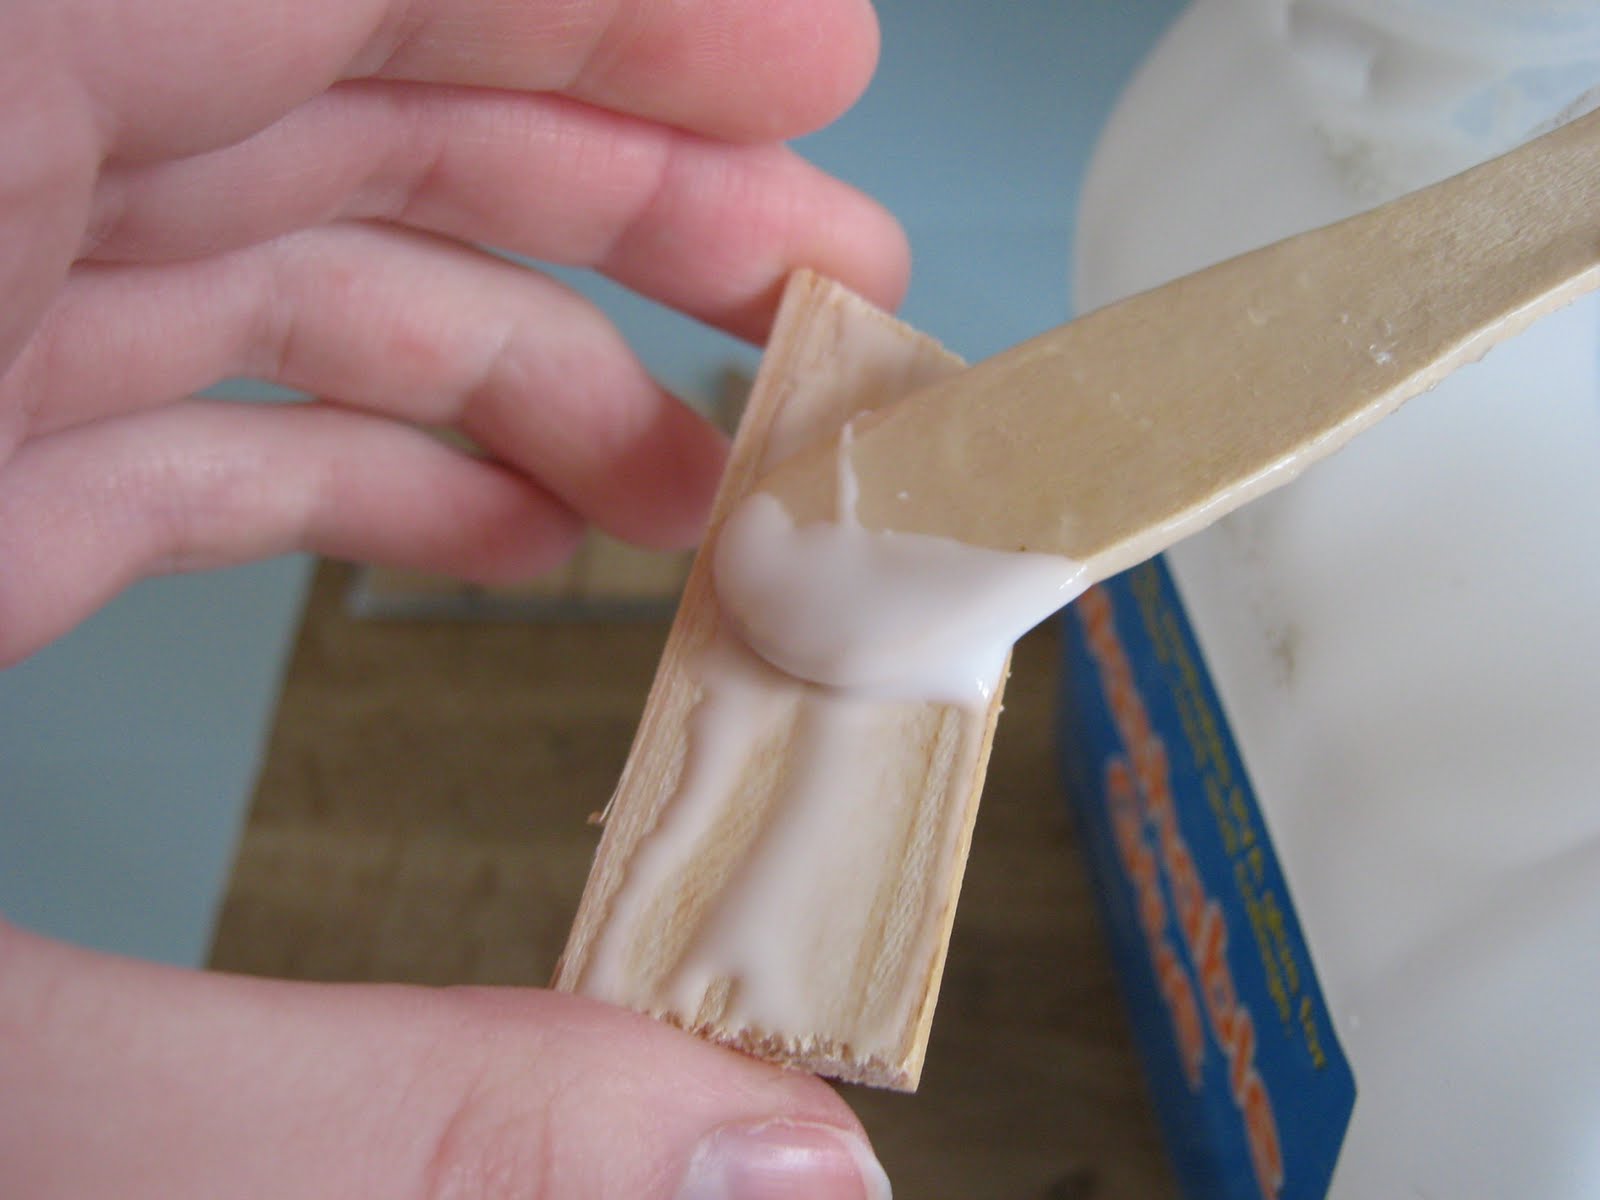
Start by gluing the wood pieces onto a plain card. I used blue card so that it looks like the sky.

Conveniently, there are the right number of wood pieces in one packet to make one card.

Put a few heavy books on the card while the glue is drying to keep the wood stuck down.

Gather lots of different flower shapes. I used flower sequins, beads, paper flowers and bits taken off Christmas decorations.

Stick the flowers onto the wood.

Add green paint with a cocktail stick to make the stems of the flowers and added foliage.

Add it's as easy as that. I think they work quite well as Fathers Day cards, cos Dads tend to like garden fences, right? But they could also be birthday cards, or just general best wishes.

This project has been featured on All Free Holiday Crafts. Check it out!

Wednesday, 3 March 2010

What To Wear birthday card

For my friend's birthday I decided to make her a fun card based on old-fashioned paper dolls. There are three sliders on the card which move to create a new outfit!

To make this card I started by drawing a body outline which would be the base for all of the outfits so they would be the same size. I split up the body into three sections; one for tops, one for bottoms, and one for shoes.
I then cut three strips of paper with the widths matching those of the outfit sections.

Next I traced the body outline onto the strips three times, as this card was going to feature three different outfits.

I drew the items of clothing onto the strips, using the body outline as a guideline, and coloured them in. Alternatively, if you didn't want to draw the clothes, you could cut out clothes from magazines and stick them on, making sure they're roughly the same size.

I then folded a piece of A4 card in half and cut four slits of equal length on one side. The length is the combined size of the three sections.

The widths relate to the spacing of the outfits on the strips of paper.

I then slotted the strips of paper in the card. They can be slid from side to side to reveal a new item of clothing.

As finishing touches I drew two piles of clothes either side of the figure and added a photo of my friend's face. I hope she likes it.

Wednesday, 10 February 2010

Alternative Valentine's Day cards

If you're bored of hearing that roses are red and violets are blue then maybe you want to consider these cards as a way of expressing your feelings.
Now this is definitely the sign of true love. Who doesn't love bacon? Nice one Design Dude.

You could make a card with a classic mix tape of love songs on it. No credit unfortunately, but I know the cassette tape was made out of an old pair of jeans. A good alternative to over-the-top girly cards.

This fun card by the long thread is extra awesome because your valentine receives a multi-coloured crayon in the shape of a heart. What more could you want!

I love a good play on words so this card from Lark and Lola caught my eye. They even sent a Starbucks gift card on the back.