Pages

Showing posts with label scrap store. Show all posts

Tuesday, 17 December 2013

Christmas Card Hanger

During our latest trip to the Scrap Store my Mum picked up a roll of what we thought was just star sequin waste.
You know that stuff with holes in where the sequins have been punched out?

When we got it home we unrolled it to find a pre-made Christmas card hanger!
So we hung it up on the side of our CD shelf.

It's got 3 star bursts at the top.

And mini gold pegs already attached to hang cards on.
We usually hang Christmas cards on the side of the stairs in the hallway, so we've reserved this hanger for cards from each other.

And this is our tree!
I think my Dad put every red and gold thing we have on it. I love it!

Tuesday, 12 November 2013

New Painting - Getting Thrifty

A new cheap shop opened up near me called B&M and a few weeks ago me and my Mum went to check it. We love all those shops; Poundland, Home Bargains, Family Bargains.
#thrifty
We ended up spending almost 2 hours in B&M.
Totally the best time.

One of the things I bought was this printed canvas for £2.99.
It's 35x90cm!
It would be perfect for me to do a really decent painting on.
Except for that one issue of there already being something on it.

Which took me to another great place. The Scrap Store, of course, where I picked up this can of emulsion paint that still had a couple of inches of paint in, which was all I needed.

Using a roller to get the smoothest texture I painted over the graphic on the canvas.
It took about 4/5 coats but then it was good to go.

And here's what I've done with it.
I used one of my own photos but switched out the figure for some Google image people.
All of my own photos feature people my age so for some variety I had to look elsewhere.

Thursday, 17 October 2013

More Make-up Pouches

As warned, I made some more make-up pouches once I'd bought some zips from Ebay.
10 for only £3.80!
I used more plasticy fabric from the scrap store including the cool text one I used on a previous bag.

All the pouches are lined with matching fabric.
The black comes from the under layer of a broken dress my sister was throwing out.
Nothing gets wasted! 

The spotty fabric was not from the Scrap Store.
It's the excess fabric from our ironing board cover which is cool because it means it's slightly padded as there's a thin layer of sponge/foam.
I repeat: nothing gets wasted.

Tuesday, 8 October 2013

Clutch Purse

Since I'm on a bag making roll I came up with this clutch purse.
I made it the same way I made the make-up pouches, except I didn't flatten the corners.

The materials I used were some tan coloured vinyl material, from the Scrap Store, and the bottom frill off this dress my friend donated to my craft supplies.

I was very impressed with myself that I managed to line up the frill along the seam.

I finished it off by sewing a little zipper tag with a scrap of the tan fabric.

What do you guys think? 

Tuesday, 1 October 2013

Make-up Pouch

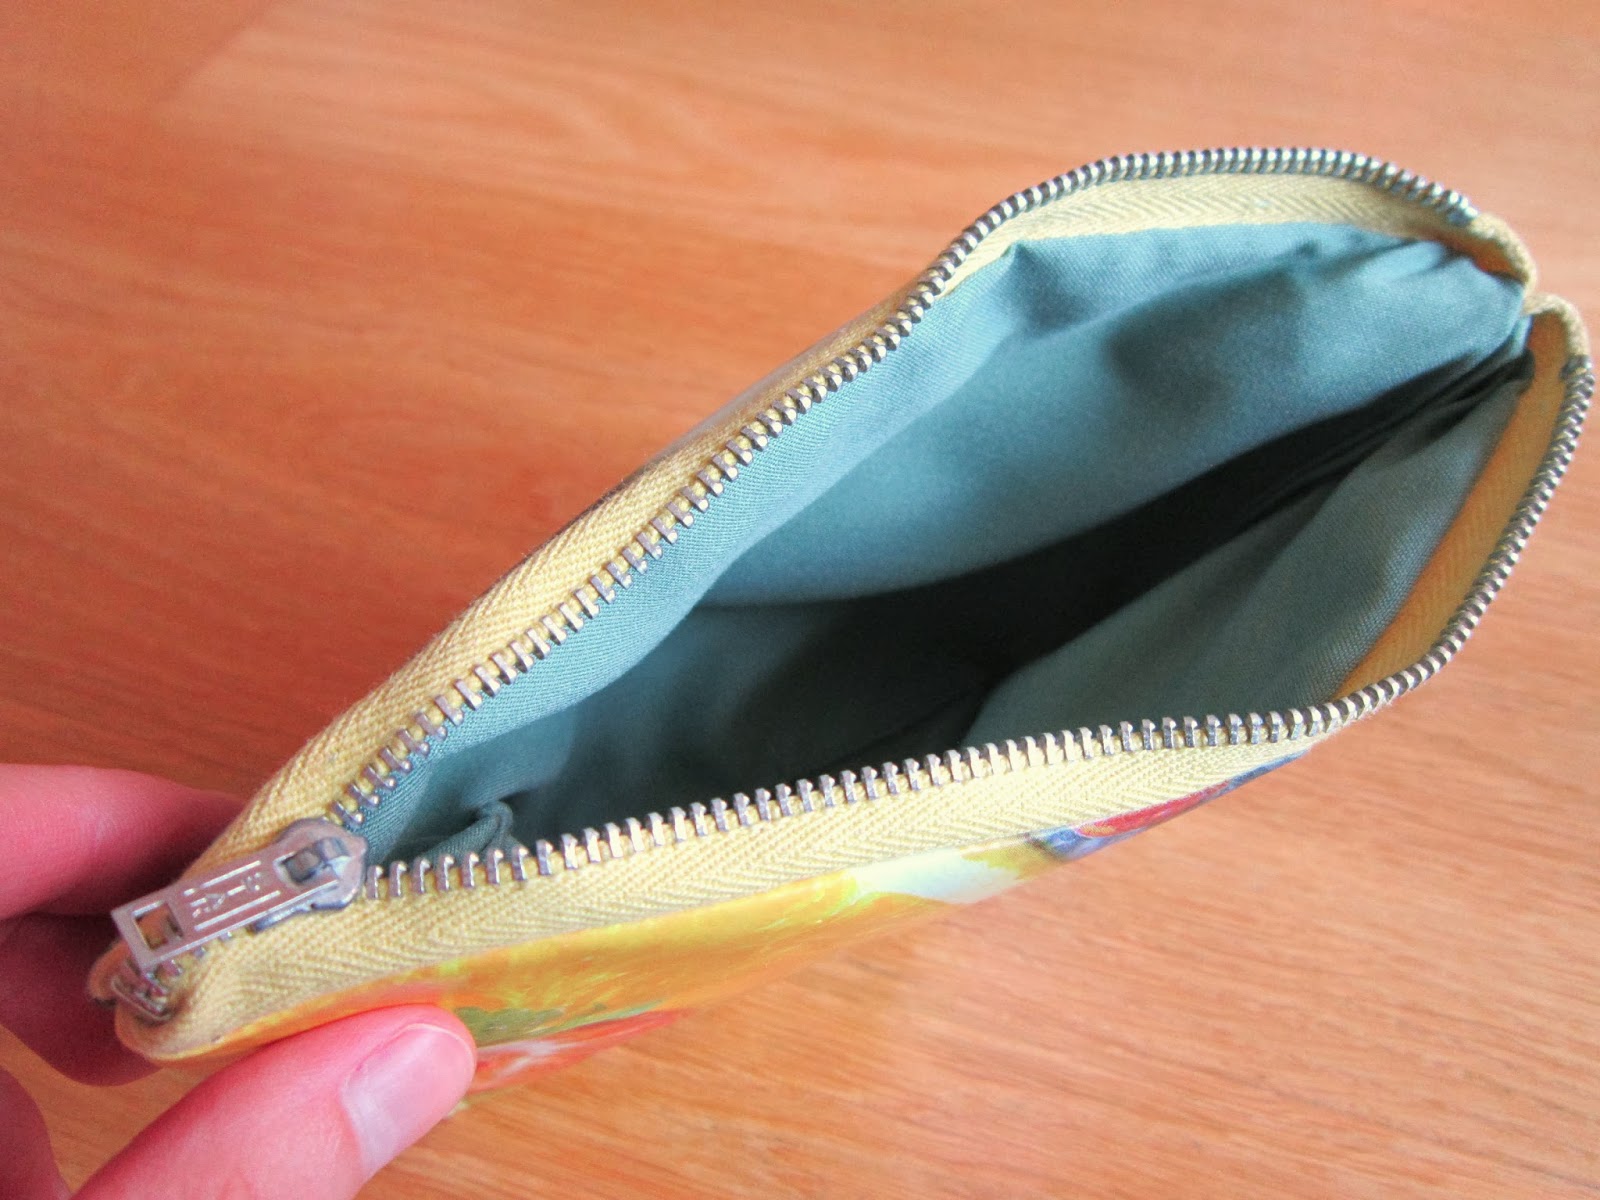
I got this awesome fruit fabric, which is kind of plastic-y, from one of my trips to the Scrap Store.
I don't know why it's taken me so long to think of something to make with it.
All I had to do was look at my Primark toiletries bag for the inspiration. 

 I think this was my first time working with a zip. I only had to unpick and start again once because I'd sewn the fabric too close to the zip. 

I referred to two tutorials when making this bag.
and

After the success of the first pouch I made another one, again using plastic fabric from the Scrap Store.
I even got a bit fancy and added a tag that you could attach a keyring to. 

I think hot pink lining was a good decision.  

I'm definitely on a roll now so expect to see a lot more of these little pouches in the future.

Thursday, 25 July 2013

Passport Cover

This is another Scrap Store creation.
After scoring some wonderful bright pink leather I googled around for ideas of what to make with it.
I found this tutorial on Design Sponge which led me to this one on Poppytalk, and using a combination of both I made this passport cover.

I used a modified template from Poppytalk and cut out all the leather pieces for my cover.
I found it much easier to cut the leather with a craft knife and metal ruler instead of scissors. 
I glued the pieces in place a little bit so it would be easier when it came to sewing.

The tutorials suggested using a stitching spacer and I remember I actually had one from a cheap sewing kit.
The dots it made were quite close together so I used my pokey tool (yes, that's what it was called on the packaging) to make a bigger hole in every other dot.

Then I sewed around the edge using bright pink embroidery thread.
The technique is to have two needles going at the same time, crossing over each other. It's better explained in the tutorials I've linked to.

I thought a matching luggage tag would be perfect so I made one in a similar way.
I put a slip of lined paper with a piece of acetate on top in the tag.
The side nearest the strap is left open to get the paper out.

And now I'm all set for a holiday abroad.
Except I don't have anything booked...
But the next time I do, I'll be ready!