
Pages

Thursday, 26 July 2012

Process of putting together a painting

I'm on a roll with this painting thing. Here's my new one.

I've had the idea for this painting for a while.
Like, before I went to uni.
So that's a pretty long while.
Having the free time and my visit to the BP Portrait Award finally pushed me to get it done.

Most of my paintings are just direct copies of photographs (which I don't have a problem with) but this painting is a composite of different images.

I knew I wanted a graffiti background so I went to my favourite source for graffiti and that's a video I took at uni one night when my friends and I were walking through an underpass on the way to a party.
I could have just googled graffiti but I like having a personal relationship with the imagery I use.
I took a few screenshots from the videos and picked out a coupla different bits of graffiti to use in the painting.  

For the figure in the painting I used myself just so I wouldn't have to wait around for someone to model for me.
I wanted my pink jacket to feature in the painting because I wanted the challenge of capturing all the folds and creases in it. I knew I didn't want the top under the jacket to be red (Red and pink? Really?) but I figured I would just paint it a different colour rather than bother changing. Because with paint these things are possible. Fascinating.
I put my camera on self-timer to take the photos and set up my room so it was dark with just a spot light coming from one side because I knew I wanted directional artificial lighting for the painting.
I stuck a blank canvas behind my head so that I'd be able to clearly see my hair which would help when I came to painting.

So there's a little behind the scenes into the images I used for my new painting. I hope it was interesting.

I won't be blogging next week as I'm going camping. Wish me good weather!

Monday, 23 July 2012

Bleach and Bling

Photobucket
Everyone loves a shirt sprayed with bleach at the moment, right?


Well I saw and idea on Manzanita to put some lace over the shirt and spray bleach over that so you get the pattern of the lace.
Well, I tried it but by spray bottle got a bit drippy so the lace pattern was ruined by bleach blobs.
Fail!

Photobucket
You can still see a bit of the pattern on the edges.

Photobucket
So I decided to spray more bleach on the shirt to add to the blobs.
And then for something extra I sewed copper coloured sequins on some of the bleach dots for a subtle bit of bling.

Thursday, 19 July 2012

Paint, Cake, and Lady A

Today I wanted to share this new painting that I completed.
I haven't done much painting recently and when I have it's been landscapes so I thought I'd sharpen up the portraiture skills.

The canvas I used originally looked like this.
Urgh.
A painting from many years ago that I gave up on because it was just not going well.
(Sorry to Laura and Lizzi for making you look like disfigured zombies)
A couple of coats of white emulsion later and the canvas was good to go for a second round.

Now do you guys want to know what I did for my birthday?

I went to see Lady Antebellum in London with my sister!!!
The tickets were a birthday gift from my parents.

They were soooo good!
It was a great night.

I love this photo I took of Charles.
That man knows how to belt out a tune!


Incase you were wondering; my birthday cake tasted delicious.
Here it is all lit up.
Yes, there are 22 candles on it.

And speaking of cake, my friend Stef got me 6 cupcakes from Hummingbird Bakery.
(I may have not been able to wait until my camera battery charged to take a photo of them before I tried one)
And I finally got to try a red velvet cake that the blogosphere raves about. Pretty darn good!
There are two red velvet and four vanilla, and that icing is sa-weeet!

Monday, 16 July 2012

The prettiest cake I ever did make

And by make, I mean decorate.
My Mum made the cake and I decorated it.
That's how we roll when it comes to birthday cakes.

That's right; today is my birthday and this is my birthday cake!

For my birthday last year my housemates got me a giant cupcake silicon mould and I've finally got around to using it.
Lots of people online have said that they had to do a few trial cakes with this mould, as the instructions aren't very helpful when it comes to cake batter quantities. But my Mum got it right first time. She's a baking pro.
Although, we haven't eaten it yet, but I trust my Mum's cooking skillz.

I went for super cute when decorating this cake so there's a pink ribbon, fondant buttons, and pink and white sugar balls and hearts.

To see my previous birthday cakes click here, here and here.
And I highly recommend that you do, cos I have had some pretty awesome cakes in the past.
CSI cake, pick-up truck cake, guitar cake and so many more.

I'm also on twitter now so hit me up @lisaharrold

Friday, 13 July 2012

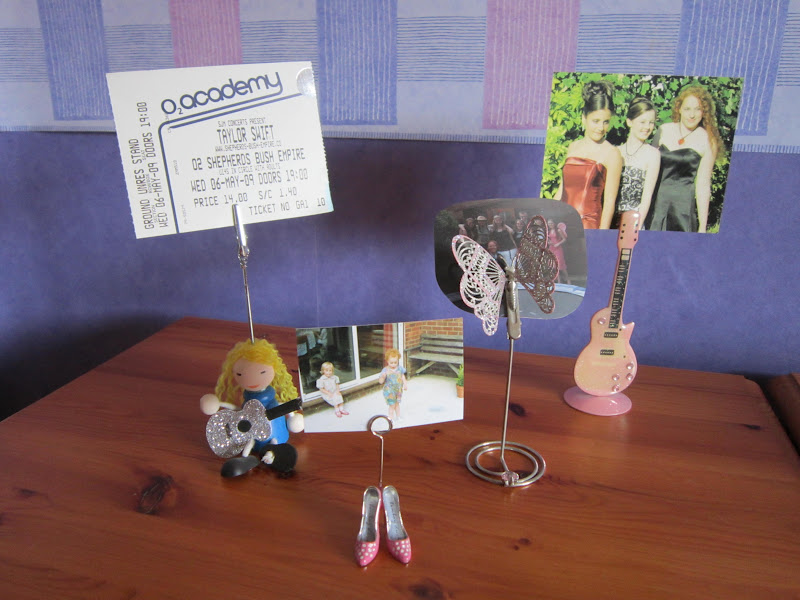
Photo holders

I love cute little photo holders so I thought I would try making one.


Here he is!

This little dog is made from Sculpey.
Sculpting it was kinda tricky because at first I wanted it to look like my friend's dog but that wasn't working out, so I settled for a generic dog. 

I think I may have left him in the oven for a little bit too long, but its ok because I was going to paint him anyway.

Looking good.
Now he's ready to hold a photo.

Or a business card.

Doggy knows how to represent!